Stereo3D is an open-source Python tool designed to automate 3D spatiotemporal reconstruction of tissues and organs, leveraging deep learning and image processing. It addresses the high labor costs, long cycles, and inefficiencies of traditional 3D reconstruction by integrating seamlessly with outputs from the ultra-high-resolution spatial omics technology Stereo-seq and cell bin—the core image processing module in Stereo-seq workflows. By directly utilizing single-cell expression matrices and subcellular spatial coordinates generated by CellBin, Stereo3D enables automated mapping of gene expression data to 3D biological structures, bridging the gap from raw omics data to actionable 3D spatial insights.
There are options:
You need install Anaconda, then run below:
# Clone the repository and navigate to the directory
git clone https://github.com/STOmics/stereo3d
cd stereo3d

# Create and activate the Conda environment
conda create --name=stereo3d python=3.8
conda activate stereo3d

# Install dependencies
pip install -r requirements.txtThe main functionalities of Stereo3D are implemented via the following scripts:
stereo3d/stereo3d_with_matrix.py # Main script for 3D reconstruction from matrix data
Input Parameter Introduction
| Input | Description | Required | Data Type | Remarks |
|---|---|---|---|---|
| matrix_path | Standard format gene expression matrix, supports raw.gef/gef/gem.gz | Required | string | / |
| tissue_mask | Tissue mask image, tif format | Required | string | / |
| record_sheet | Obtained from the experimental side, records slice positions, correspondence between preceding and subsequent slices | Required | string | / |
| output | Result save path | Required | string | / |
| registration | The process performs registration by default. If the input data is already registered and no additional algorithmic registration is needed, use parameter --registration 0 |
Optional | int | / |
| overwriter | If the automated registration result of Stereo3D does not meet requirements, perform manual registration operations on the automatically registered files, then feed back into the Stereo3D process to output new results, use parameter --overwriter 0 |
Optional | int | Example see 4. Reconnect to Stereo3D Pipeline |
| align | If only the matrix is input, matrix reconstruction results can be generated, outputting only the registered H5AD and organ mesh, use parameter --align paste |
Optional | string | Example see 3.2.3.2 |
Standard Output File Introduction
| Output File | Description |
|---|---|
| 02.register | Registered tissue mask images after alignment |
| 03.gem | Spatial expression matrix after registration |
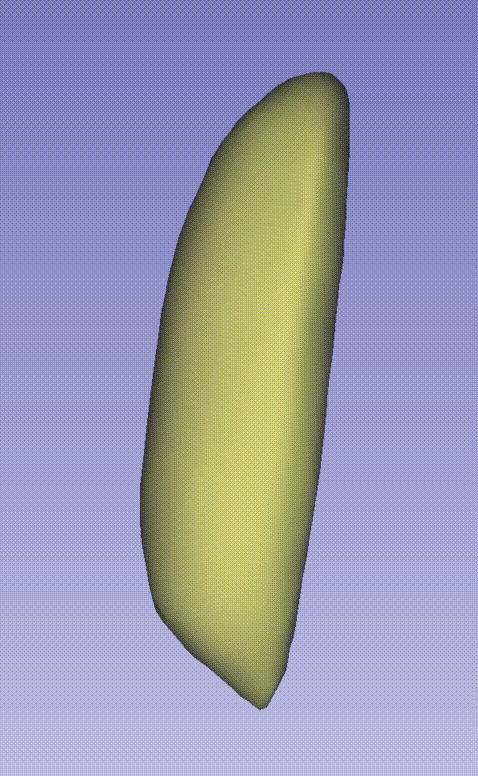
| 04.mesh | 3D mesh model reconstructed from clustered point clouds |
| 05.transform | Annotated H5AD file containing spatial coordinates and cell metadata |
| 06.color | H5AD file with unified color mapping for visualization |
| 07.organ | Segmented organ-specific mesh models |
Run python stereo3d_with_matrix.py --help for detail.
After completing the data normalisation and running stereo3d_with_matrix.py to output the results, the results can be viewed by following the steps in the documentation 2.3.1.4 to view the results
| Species Tissue | Download Path | File Size |
|---|---|---|
| Drosophila | https://bgipan.genomics.cn/#/link/wSnaxQhJ6i5RTPcYvtgI Extraction password: FJrY | 90 MB |
python stereo3d_with_matrix.py \
--matrix_path E:\3D_demo\Drosophila_melanogaster\00.raw_data_matrix\Drosophila_melanogaster_demo\00.gem \
--tissue_mask E:\3D_demo\Drosophila_melanogaster\00.raw_data_matrix\Drosophila_melanogaster_demo\00.mask \
--record_sheet E:\3D_demo\Drosophila_melanogaster\00.raw_data_matrix\Drosophila_melanogaster_demo\E-ST20220923002_slice_records_E14_16.xlsx \
--output E:\3D_demo\Drosophila_melanogaster\00.raw_data_matrix\Drosophila_melanogaster_demo\output
The following GIF demonstrates the 3D spatial distribution of single-cell clustering results:
Stereo3D includes a suite of modular tools for spatial data analysis, visualization, and integration with SAW/Spateo workflows. Explore our full suite of tools and their documentation here.
For more detailed instructions, you need to visit here